Stone CNC Carving Machine Power Outage: What Happens and How to Restart Safely
Aug 21, 2026
A sudden power outage during stone carving can be alarming. The spindle stops, the cutting tool remains in the stone, and the control system shuts down without warning. Many operators immediately worry that the CNC stone carving machine, spindle, motors, or workpiece has been damaged.
In most cases, a sudden power failure does not directly damage the Precision CNC machine. The bigger risk comes from restarting the machine incorrectly.
If the power goes out while carving marble, granite, quartz, or other hard stone, the most important rule is simple: Do not restart the carving program immediately after power is restored.
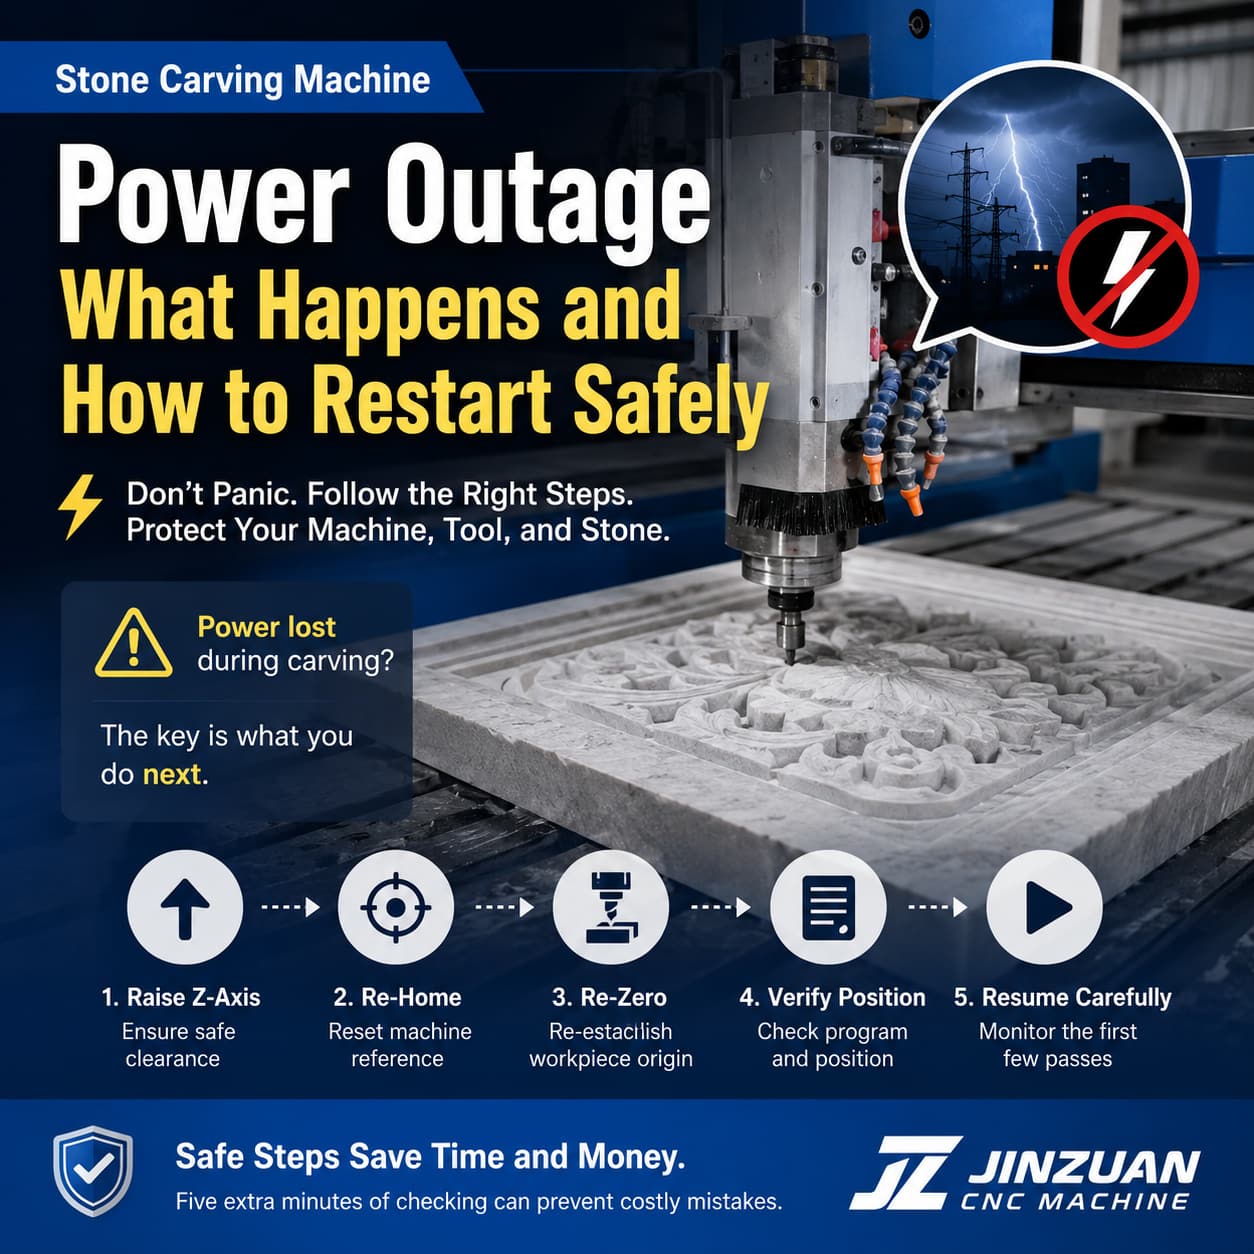
You need to check the tool position, raise the Z-axis, re-home the machine, re-establish the workpiece zero point, and then carefully decide where to resume machining.
What Happens When a Stone CNC Machine Suddenly Loses Power?
When power is interrupted, the machine stops almost instantly.
The spindle stops rotating, the feed motors stop moving, and the CNC controller shuts down. The carving tool remains approximately where it was when the power disappeared.
This does not necessarily mean that the machine has suffered mechanical damage.
Machine Component
What Happens During Power Loss
Main Concern
Spindle
Rotation stops and the spindle coasts to a stop
Usually no direct damage
Drive Motors
Motors stop when power is removed
Usually no damage
CNC Controller
Control system shuts down
Machining position may need to be re-established
Cutting Tool
May remain inside the stone
Tool breakage during restart is possible
Workpiece
Machining stops at the current position
Surface mismatch may occur if restarted incorrectly
Machining Program
The previous machining state may not be safely resumable
Repositioning may be required
The machine itself is usually not the biggest problem. The critical issue is that the physical tool position and the software's coordinate reference may no longer match.
Why Can Restarting Immediately Cause Damage?
Imagine the spindle was carving a deep groove when the electricity suddenly disappeared.
The tool may still be partially buried in the stone. If you press the Start button immediately after power returns, several things can happen:
The spindle may restart while the tool is still engaged in the stone.
The cutting tool may experience excessive resistance.
A small-diameter carving bit may break.
The workpiece surface may be scratched.
The machine may move in an unexpected direction before the operator confirms the coordinates.
The resumed machining path may not perfectly match the previous cutting path.
For expensive marble or granite slabs, a positioning error of only a few millimeters can create visible machining defects. The dangerous step is not the power outage itself—it is an uncontrolled restart.
What Should You Do When Power Comes Back?
Follow a controlled recovery process instead of immediately restarting the machining program.
Step 1: Do Not Press Start
When electricity returns, resist the temptation to continue machining immediately. First inspect the machine. Check:
Is the carving tool still inside the stone?
Is the spindle close to the workpiece surface?
Is the tool visibly damaged?
Are there loose stone chips around the cutting area?
Are the X, Y, and Z axes in a safe position?
If the tool is still engaged in the stone, do not force the spindle to restart under load.
Step 2: Raise the Z-Axis First
The Z-axis should be your first priority. After powering on the machine, manually raise the spindle to create a safe clearance between the tool and the stone surface. This is important because moving the X or Y axis while the tool is still touching the workpiece can create unwanted scratches or side impacts.
A useful rule for operators is: Raise Z → Check clearance → Then move X/Y.
This simple habit can prevent accidental damage during recovery.
Step 3: Inspect the Cutting Tool
The tool may have been under cutting pressure when the power disappeared. Check the tool for:
Broken tips
Cracks
Excessive wear
Bent components
Loose tool holders
Abnormal contact marks
If the tool was heavily engaged in the stone when the power failed, replacing the tool may be safer than immediately continuing production. A damaged diamond tool can produce poor surface quality even if it does not break immediately.
Step 4: Re-Home All Axes
After the machine has been safely powered on, the axes should normally be returned to their machine reference position through the controller's homing procedure. Homing allows the control system to establish the machine's coordinate reference again.
Before homing: Make sure the spindle and tool are at a safe height and will not collide with the workpiece, fixture, or machine structure.
Never assume that the machine's previous coordinate position is still valid simply because the spindle physically appears to be in the same place.
Step 5: Re-Establish the Workpiece Zero Point
Machine coordinates and workpiece coordinates are not exactly the same thing. After a power interruption, the machine may know its mechanical reference position after homing, but the original workpiece origin still needs to be confirmed. Re-check:
X zero
Y zero
Z zero
Workpiece position
Tool length or tool offset
Fixture position
For Z-zero especially, make sure the tool reference is consistent with the original setup.
How Can You Resume the Original Carving Program?
This is the part that requires the most attention. If the machining position was not recorded before the outage, you may need to reconstruct the approximate stopping position.
A practical recovery method is:
1. Home the machine
Return all axes to the machine reference position.
2. Locate the workpiece origin
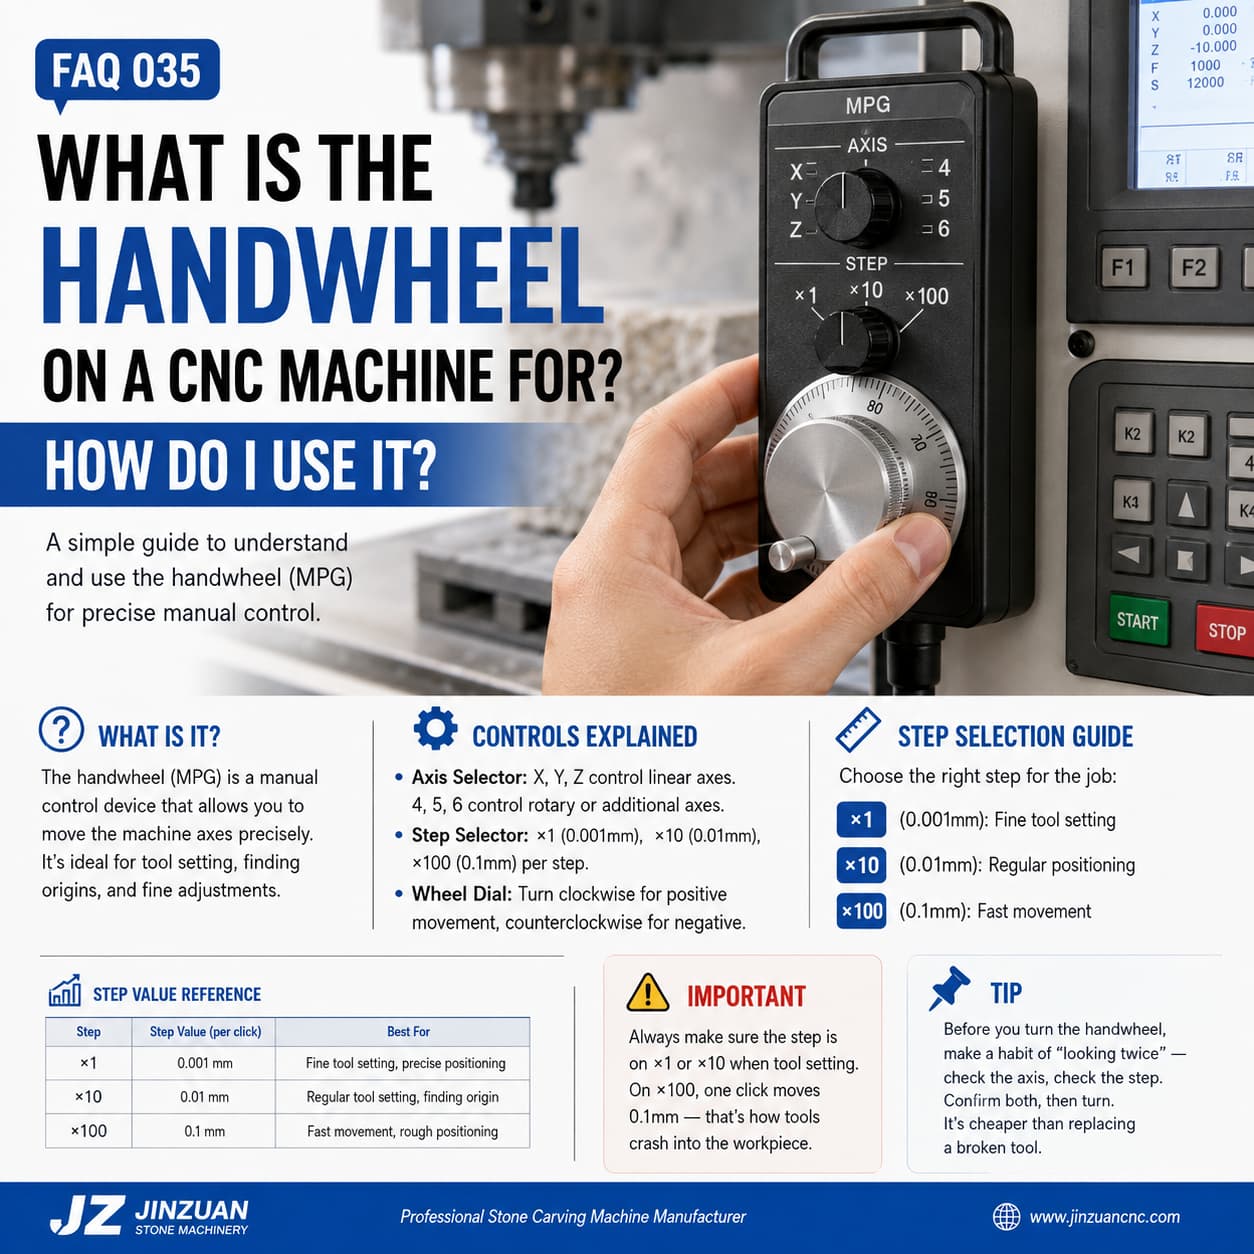
Use the handwheel or manual movement function to move the spindle toward the original X/Y workpiece origin.
3. Re-zero the tool
Set the workpiece zero point again using the same reference method used before machining.
4. Identify the approximate stopping position
Check the machining program, toolpath, simulation, or controller information to determine approximately where the machine stopped.
5. Move to a safe position
Before restarting, keep the tool above the stone and verify the X/Y/Z coordinates.
6. Test the toolpath
If the controller allows it, perform a dry run or carefully check the toolpath before cutting.
7. Resume slowly
The first few passes should be closely monitored.
If the toolpath does not match the existing carving, stop immediately.
What If You Cannot Find the Exact Stopping Position?
Do not guess blindly. If the machine stopped in the middle of a complicated 3D carving, restarting from the wrong program line can create overlapping cuts or leave an unmachined section.
When the exact stopping position is uncertain:
Compare the actual carving with the CAD/CAM model.
Check the last visible toolpath.
Inspect the controller's program information.
Measure the machined area.
Use a simulation to understand the expected tool position.
Consider restarting from an earlier safe section rather than an uncertain line.
For high-value stone slabs, spending several minutes verifying the position is much cheaper than repairing or replacing the entire workpiece.
Common Mistakes After a Power Outage
Mistake
Possible Result
Better Practice
Pressing Start immediately
Tool may collide with the stone
Check tool engagement first
Moving X/Y before raising Z
Tool may scratch the workpiece
Raise Z first
Skipping homing
Coordinate reference may be incorrect
Re-home the machine
Assuming the old zero point is unchanged
Machining may shift
Re-check workpiece zero
Reusing a damaged tool
Poor finish or tool breakage
Inspect or replace the tool
Guessing the program line
Duplicate or missing machining
Confirm the stopping position
Resuming at full speed
Errors may become severe quickly
Monitor the first passes carefully
How Can You Reduce the Risk of Problems During Power Failures?
A good recovery procedure starts before the power outage happens.
1. Save Machining Programs Properly
Keep the original CAD/CAM files and machining programs organized. If a power failure occurs, you have a reliable reference for reconstructing the machining position.
2. Record Important Workpiece Coordinates
For complicated jobs, recording the workpiece origin, tool information, and machining parameters can make recovery much easier.
3. Use Appropriate Power Protection
Where the production environment allows it, appropriate power protection equipment can help reduce the impact of unstable electrical conditions and sudden voltage fluctuations.
4. Keep the Machine Area Clean
Stone dust, water, chips, and loose materials should not accumulate around electrical cabinets, cables, connectors, or moving components.
5. Train Operators on Emergency Recovery
Every operator should know the basic sequence: Stop → Inspect → Raise Z → Home → Re-zero → Verify → Resume. This is much safer than allowing different operators to improvise after every power interruption.
Does a Power Outage Mean the CNC Machine Is Damaged?
Not necessarily. A power outage is mainly a machining interruption, not automatically a machine failure.
The machine may continue operating normally after power is restored if:
The electrical system remains normal.
The spindle and motors show no abnormal behavior.
The cutting tool is intact.
The axes can home correctly.
The workpiece coordinates can be re-established.
The machining program can be safely resumed.
However, if you notice abnormal spindle noise, axis alarms, controller errors, overheating, unusual vibration, or inaccurate positioning after the outage, stop machining and inspect the relevant system before continuing production.
Final Safety Rule for Stone CNC Operators
A sudden power outage may only take a few seconds, but the recovery process should not be rushed.
Remember this sequence: Power Restored → Don't Start → Check Tool → Raise Z → Re-home → Re-zero → Verify Toolpath → Resume Carefully
The most important lesson is simple: Never assume that the machine can safely continue from exactly where it stopped.
Five extra minutes of inspection can prevent a broken carving tool, damaged stone surface, or an entire slab from becoming scrap.
For stone CNC carving, safe recovery is just as important as accurate machining.
Read More










 IPv6 network supported